|
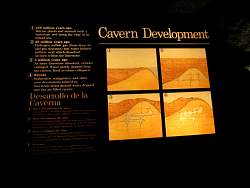
We arrived too late in the afternoon to hike down to the Big Room via the Natural Entrance, so we took the elevator down. Here's a dimly lighted sign that shows the route around the periphery of the Big Room.
|
|
 |
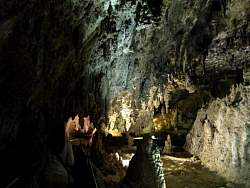
THe railing you can see towards the lower left gives a bit of a sense of how big these caverns are. The very dim lighting makes taking photos a challenge.
|
|
|
 |
The cavern disappears in the distance before us
|
|
 |
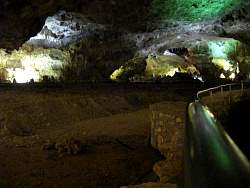
People at the lower left help give a sense of scale
|
|
|
|
|
|
 |
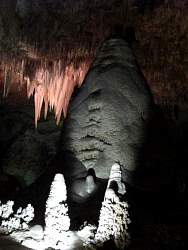
This stalactite and stalagmite will eventually join to form a solid pillar
|
|
 |
A closer look at the gap
|
|
|
 |
These are part of the Hall of Giants, explained on the next sign
|
|
|
|
 |
Another look at the Hall of Giants
|
|
 |
Lots of stalactites on the ceiling here!
|
|
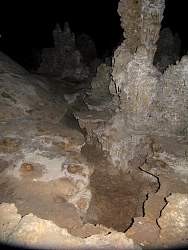 |
There used to be a pool here at sometime in the distant past
|
|
|
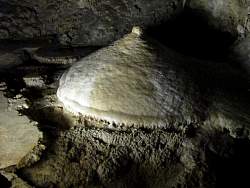 |
This formation, about 10 feet across, must get photographed a lot! In case you missed it, you could buy an 8x10 in the bookstore in the Visitor Center.
|
|
|
|
 |
An old ladder leads down to a lower level, as explained on the next sign
|
|
|
|
|
|
|